Cleaning Your Foil DriveUpdated 3 days ago
What to clean, when to clean and WHY we can!
Saltwater is the most brutal operating environment for electronics and can take its toll if not well managed.
Keep all components out of the sand and never flip your board upside down with the electronics box open. Sand in spinning motors and bearings cause excessive wear and damage to waterproof coatings. Ensure your system is clear of debris before heading out for a session!
Follow the instructions below to safely maintain your gear.
It is imperative you complete the following:
AFTER EVERY USE
1. As soon as you can, rinse the system with fresh water to remove initial saltwater, sand, and debris.
WARNING
Gen1 Users: Ensure your electronics box lid is closed! Do not rinse your battery! 
Gen2 Users: Ensure your nose cone is still latched when rinsing your unit.
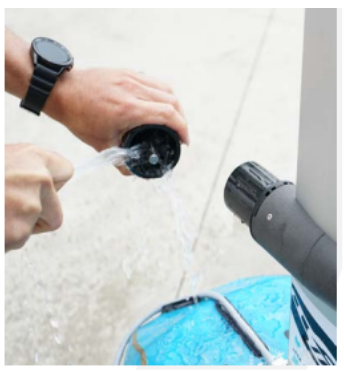
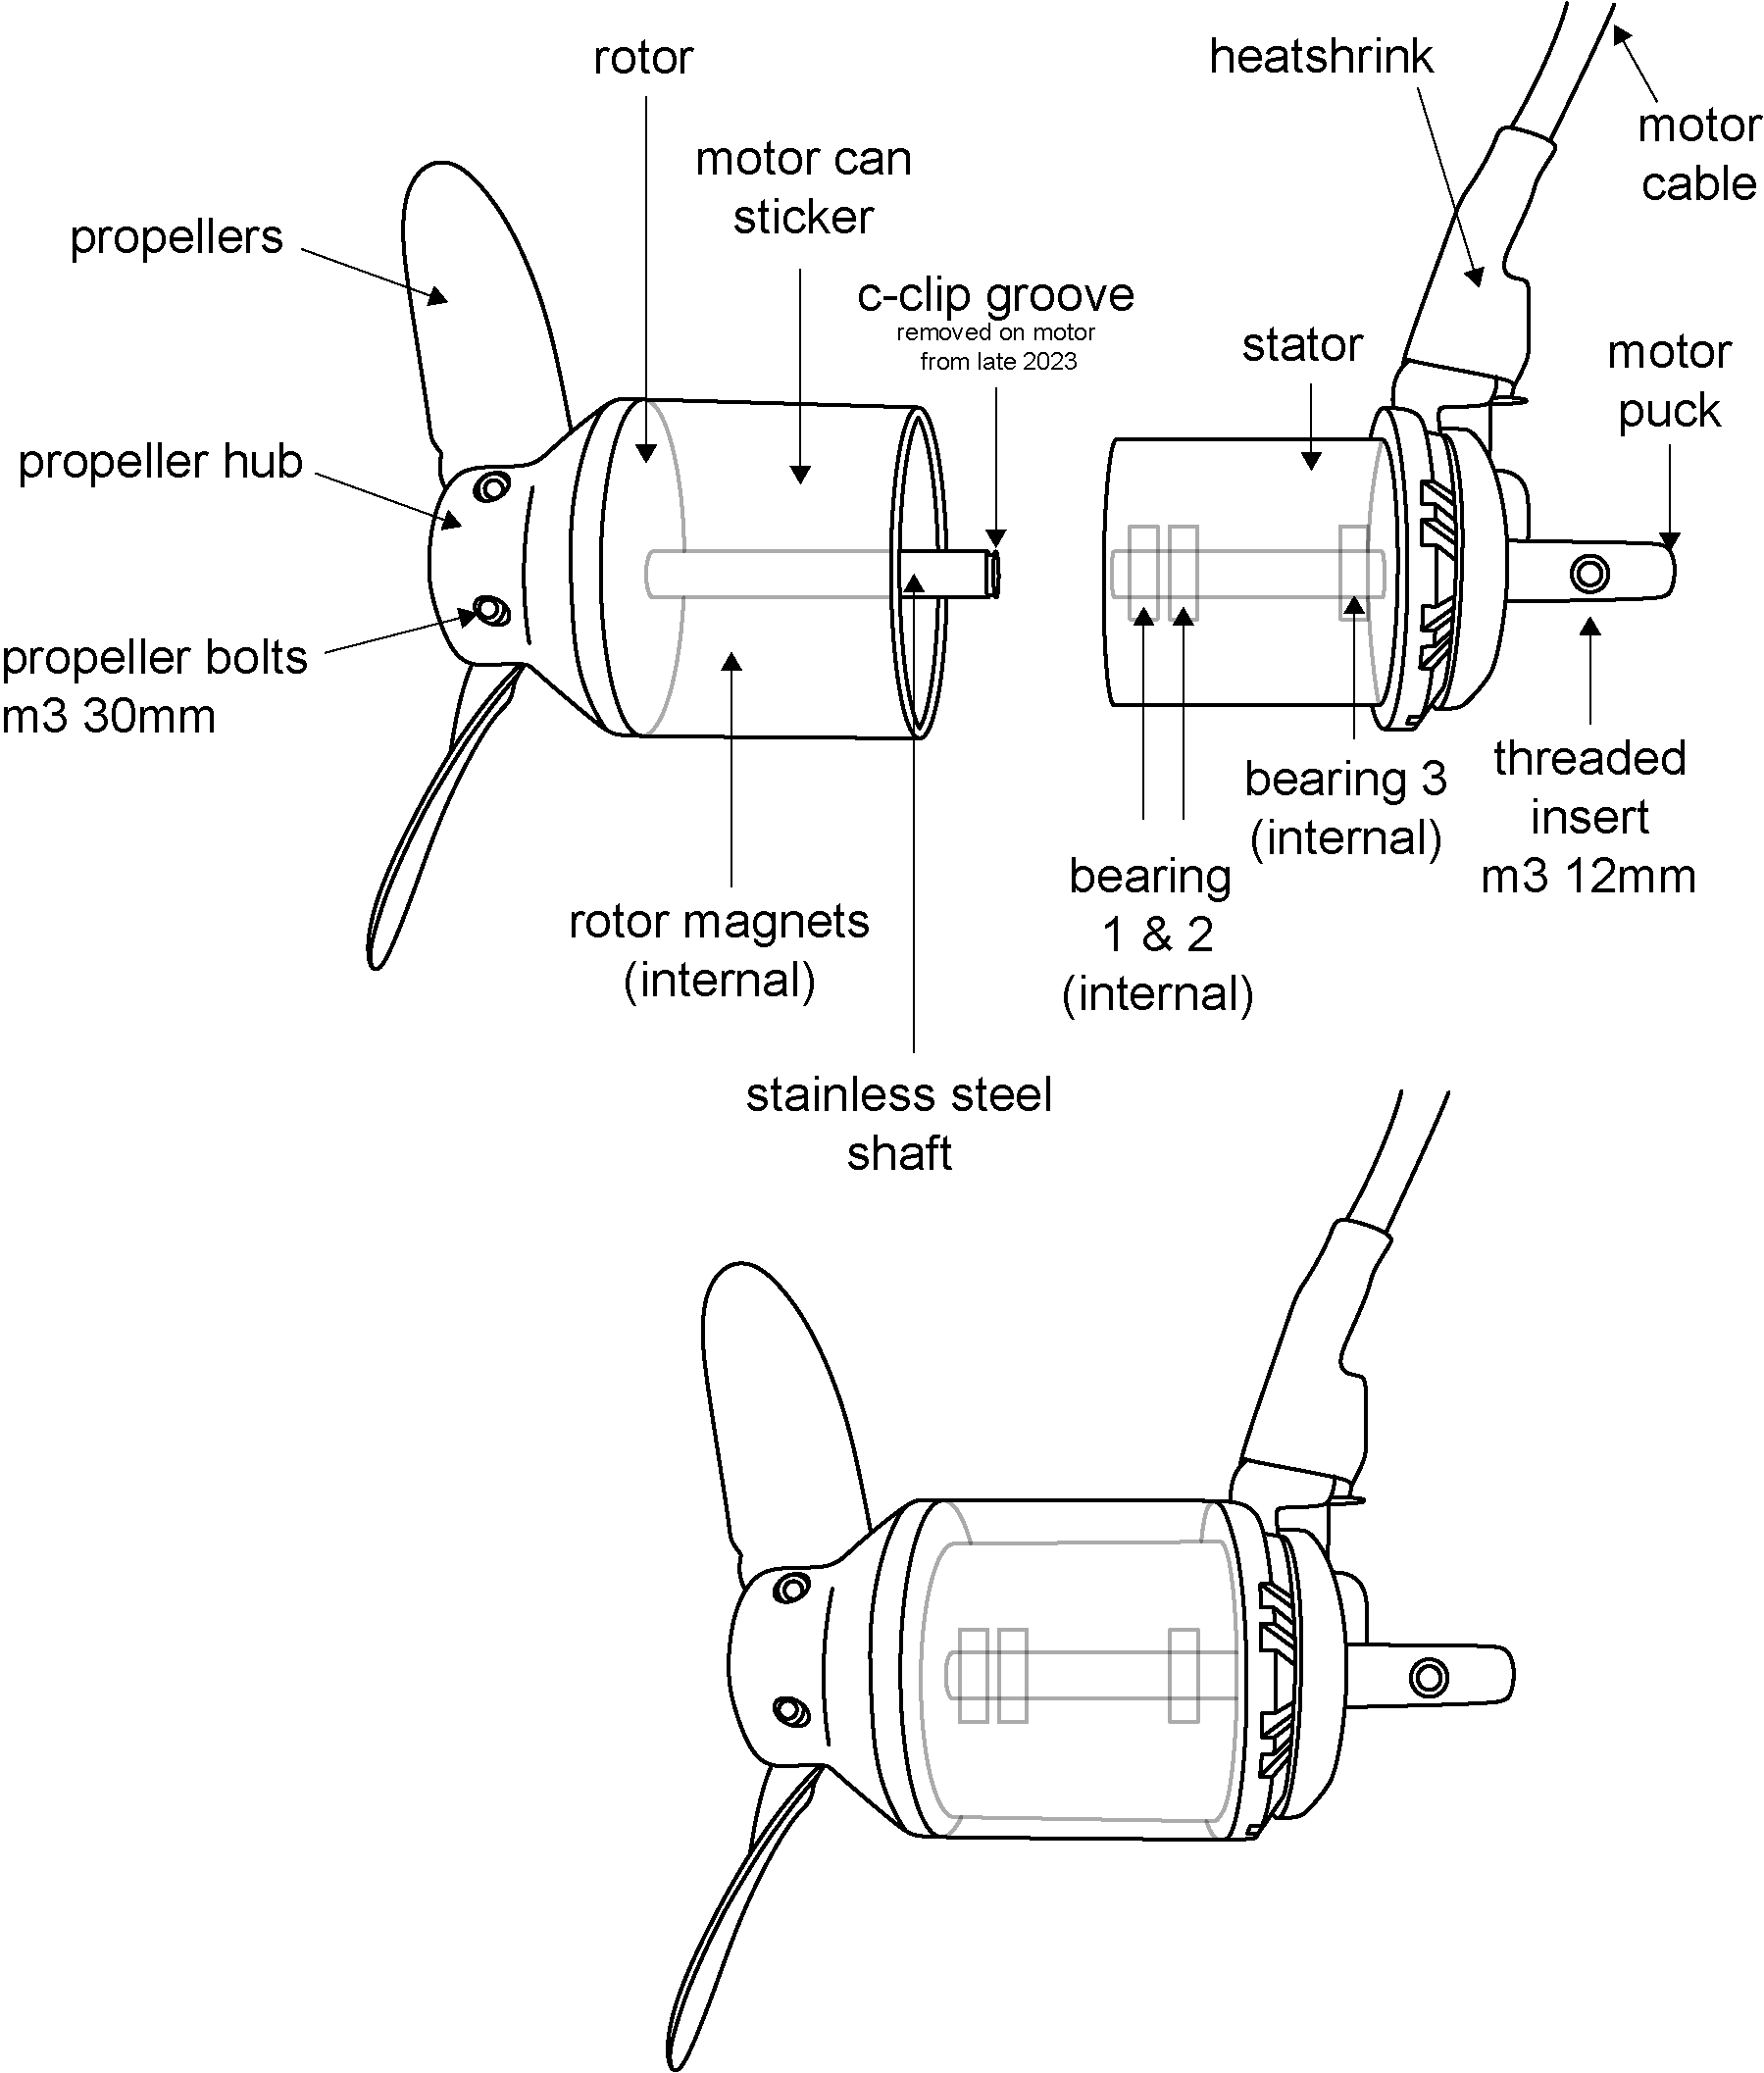
2. Pull the rotor off the stator and give both the rotor and stator a good rinse.
(For pre 2023 Assist and PLUS kits, you will need to remove the circlip to be able to do this. Click here to learn how).
3. A dry towel can be used to wipe down the internals of the electronics box if humidity has built up moisture.
ONCE YOU ARE HOME
1. Submerge your motor in a bucket of warm, fresh water and spool the motor to thoroughly flush it out.
2. Submerge your controller in warm, fresh water for 5 minutes. Remove and shake out water.
3. Inspect power cable, latches, cable gland and the box seal for any damage
Gen1: Click here
Gen2: Click here
Having issues with your electronics box? Click here to troubleshoot.
4. Ensure battery, internal cavity of box and power connector are dry and sand free.
Assist or Assist PLUS Battery got wet? Click here to learn more.
5. For Gen1 systems, store with the lid open in a dry environment. For Gen2, always ensure you leave the nose cone off, and the battery DISCONNECTED!
ONCE A WEEK, MINIMUM
1. Remove all components including box, motor, pod, puck, propeller hub and controller mount in order to thoroughly rinse everything with warm, fresh water.
2. Check your system over and ensure your bearings are running smoothly with no large chips or cracks present in the hub or propellers.
3. When re-assembling, this is a good time to submerge and run your motor in warm water once again. After pulling everything apart, stubborn salt should now come off.
Much like any equipment exposed to salt, maintenance and due care is required.
See video below for guidance on how to clean your gear after each use, as well as detailed cleaning to be carried out at least once a week.
ELECTRONICS BOX AND CABLE GLAND
Gen1:
- Visual Inspection of electronics box, click here.
Water getting in? Perform a freshwater dunk test, click here.
- If your cable gland is loose, click here.
Note: There is a black ring marked on your cable where it meets the gland. If you notice this has shifted down, you will need to reseat the cable. DO NOT USE UNTIL IT HAS BEEN FIXED.
Gen2:
- O-Ring seal care & maintenance, click here.
- Motor Plug care & maintenance, click here.
If on inspection during your routine cleaning, you find you have damaged or worn-out parts, check out our articles for repairs and maintenance here. 
NOTE: When placing the rotor back on the stator, you MUST use two hands to slowly guide it back on. Once the magnets grab, you must ensure the rotor does not slam against the stator otherwise you risk damaging your bearings.
Related Articles - Click to Read:
Full Foil Drive Motor Refurbishment
Foil Drive Rotor Refurbishment
Foil Drive Motor Design | Universal
To learn more, check out the other articles on our Help Centre which can be found under the 'Support' tab on the website.
As always, if you have any questions, please reach out to us at [email protected].
Happy Foil Driving!